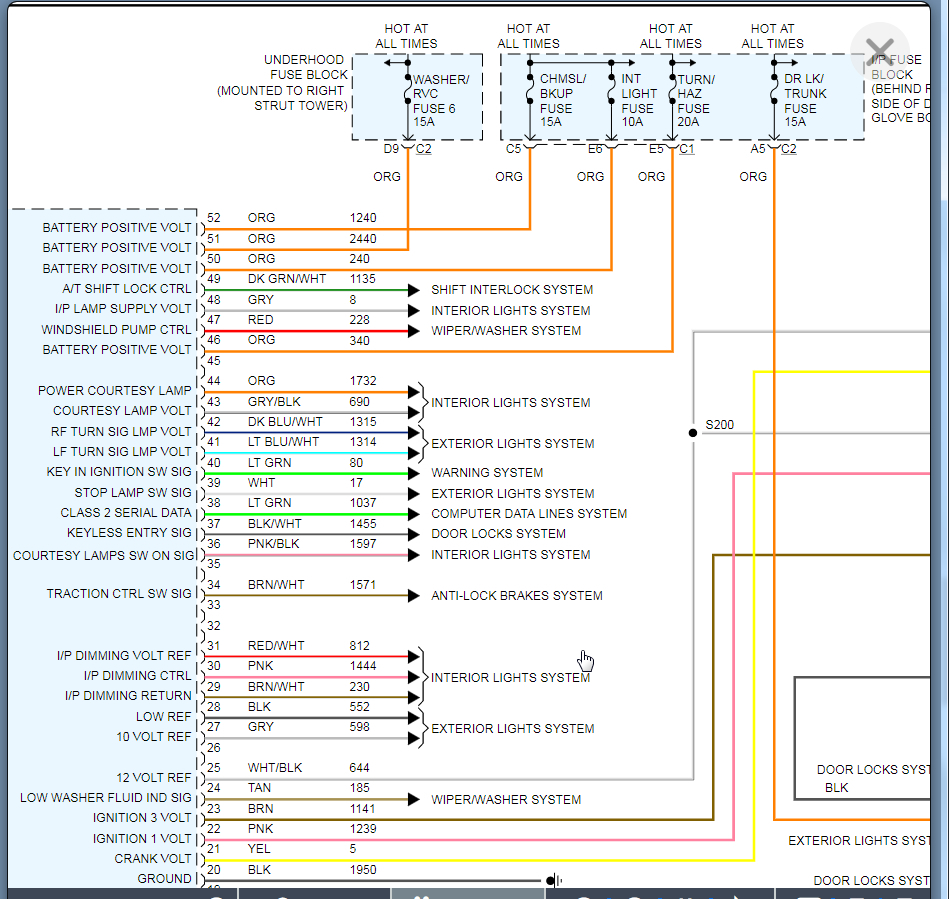
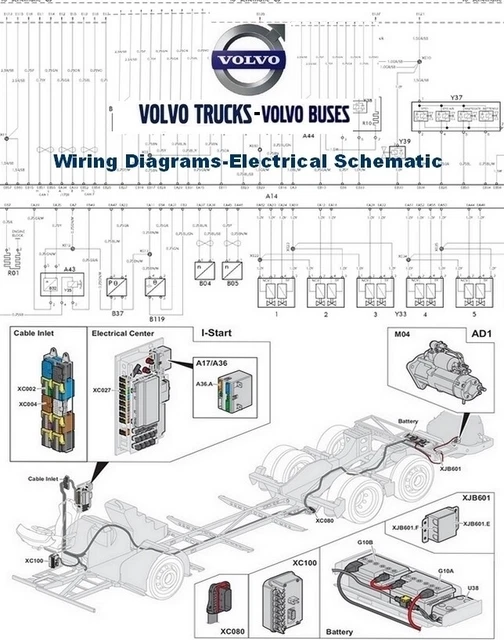
The Morette wiring diagram is a popular choice among automotive enthusiasts looking to upgrade their vehicle’s lighting system. This diagram provides a clear and concise way to wire additional headlights, ensuring optimal performance and safety. In this article, we will break down the Morette wiring diagram step-by-step, covering important components, installation procedures, troubleshooting tips, and safety precautions you need to take before starting your project.
Understanding the Morette Wiring Diagram Components
Before diving into the installation process, it’s essential to understand the key components involved in the Morette wiring diagram. Each element plays a crucial role in ensuring that your new lights operate correctly.
- Headlights: The Morette system typically utilizes high-performance halogen or HID headlights, which provide better visibility than standard bulbs.
- Wiring Harness: This is a set of wires that connects the headlights to the vehicle’s electrical system. It includes connectors, terminals, and fuses.
- Relay: A relay is used to control the power distribution to the headlights. It allows the headlights to draw power directly from the battery instead of through the vehicle’s switch, reducing voltage drop and increasing brightness.
- Fuse: The fuse protects the wiring and the headlights from overcurrent, which can cause damage or even fires.
- Switch: The switch is what you will use to turn the headlights on and off. It is connected to the relay and signals it to provide power to the lights.
Understanding these components will help you navigate the wiring process more effectively.
Step-by-Step Installation Process
Now that we know the components involved, let’s go through the step-by-step process of installing the Morette wiring diagram.
Step 1: Gather Your Tools and Materials
Before starting, make sure you have all the necessary tools and materials. You will need:
- Morette wiring harness kit
- Wire strippers
- Electrical tape
- Screwdriver set
- Multimeter
- Heat shrink tubing (optional)
Step 2: Disconnect the Battery
Always disconnect the vehicle’s battery before starting any electrical work. This precaution helps prevent accidental short circuits and electrical shocks.
Step 3: Mount the Headlights
Install the Morette headlights according to the manufacturer’s instructions. Ensure they are securely mounted and aimed correctly for optimal visibility.
Step 4: Connect the Wiring Harness
Take the wiring harness and carefully connect it to the headlights. Each connector should fit snugly. Pay attention to the color codes: typically, the black wire is for ground, and the colored wires are for positive connections.
Step 5: Install the Relay
Mount the relay in a dry, accessible location under the hood. Connect it to the battery and the switch according to the wiring diagram. Ensure all connections are secure.
Step 6: Connect the Fuses
Insert fuses into the designated holders in the wiring harness. This step is crucial for protecting your system from electrical faults.
Step 7: Test the System
Before sealing everything up, reconnect the battery and test the lights. Use a multimeter to check for proper voltage and operation. If everything works as expected, proceed to secure the wiring with electrical tape and zip ties to avoid any movement or abrasion.
Troubleshooting Common Issues
Even with a proper installation, you might encounter some issues. Here are some common problems and how to troubleshoot them:
- Lights Won’t Turn On: Check the fuses and connections. A blown fuse or loose connection can prevent your lights from working.
- Dim Lights: Ensure the wiring is of the correct gauge and that the connections are clean and secure. Check for voltage drop using a multimeter.
- Intermittent Operation: Inspect the wiring for any signs of wear or damage. A damaged wire can cause intermittent connectivity.
Safety Precautions
When working with electrical systems, safety should always be your priority. Here are some essential safety tips to follow:
- Disconnect Power: Always disconnect the battery before working on any electrical components.
- Work in a Dry Area: Avoid working with electrical components in wet or damp conditions to prevent shocks.
- Use Proper Tools: Ensure you are using insulated tools to reduce the risk of accidental electrocution.
- Consult the Manual: If you’re unsure about any connections or components, refer to the Morette wiring diagram manual for guidance.
By following these steps and precautions, you can safely and effectively install the Morette wiring diagram and enjoy the enhanced lighting it provides. This upgrade not only improves visibility but also contributes to the overall safety of driving at night or in low-light conditions.